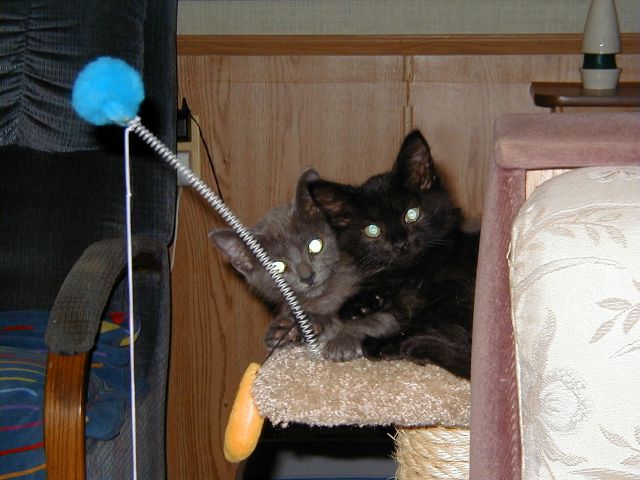
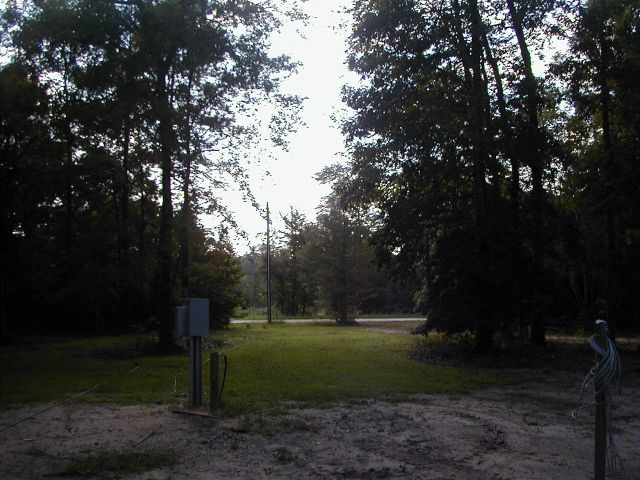
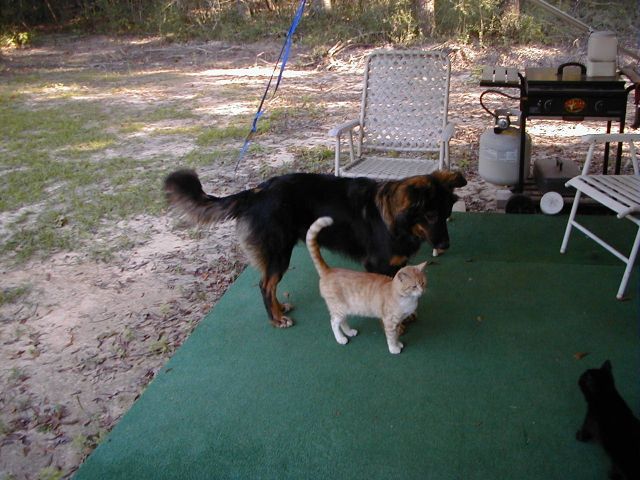
I guess we'll start out in the spring... Early in May, I added a couple of kittens to the place. Meet Oofie and Gracie. They are a bit bigger now, and are thoroughly convinced that they own the place! Also in May, I planted Centipede grass everywhere that we had graded. Centipede is a very slow growing grass, but it's also very low maintenance, which is why I chose it. I'm hoping to limit the lawn tending chores as much as I can... I'd rather sit on the porch and drink beer. :-)
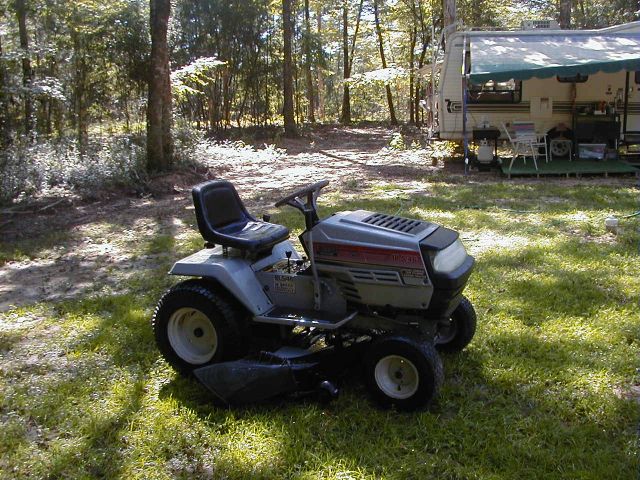
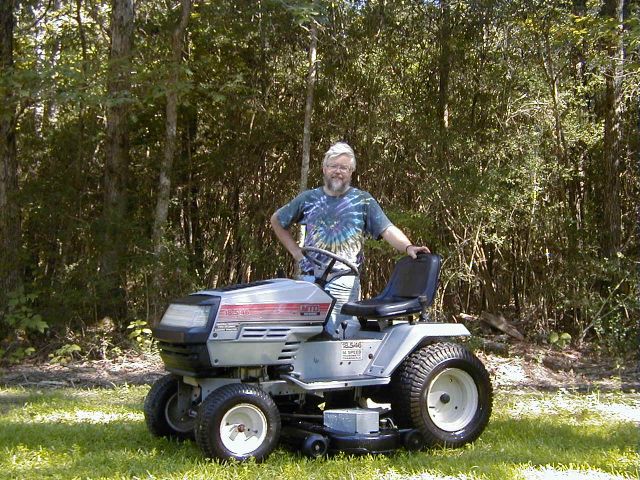
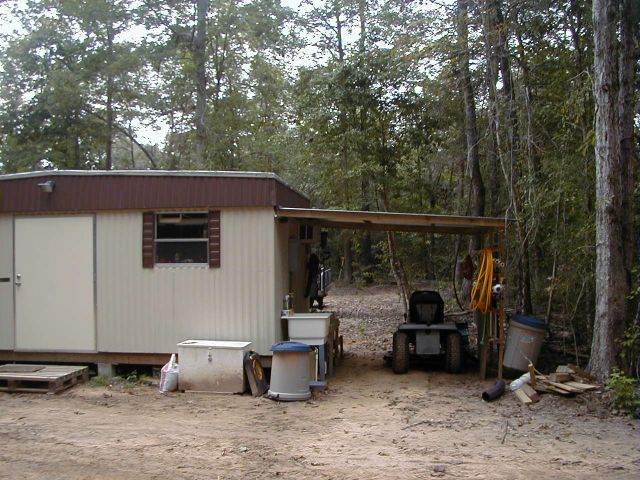
The addition of grass necessitated the purchase of something to cut it with. I found an older lawn tractor in poor condition and spent several months fixing it up. The result was a very serviceable mower at a minimum of cost. Cutting a 4 foot wide swath, it makes short work of the large area of grass I now have. And, as one thing leads to another, once I had a mower, I had to create a covered place to park it. Seems like every labor-saving device leads somehow to more labor.
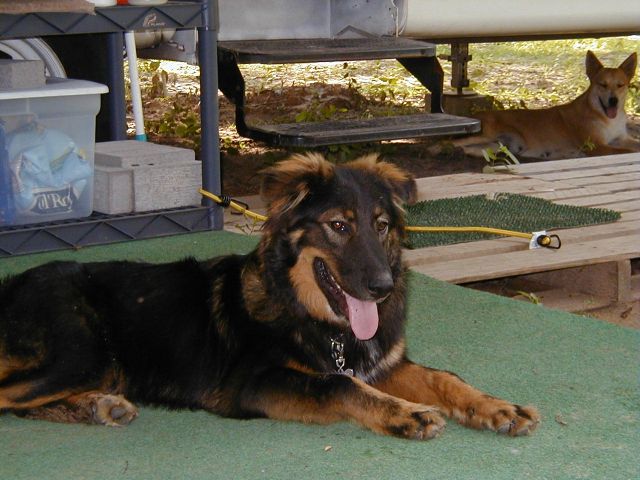
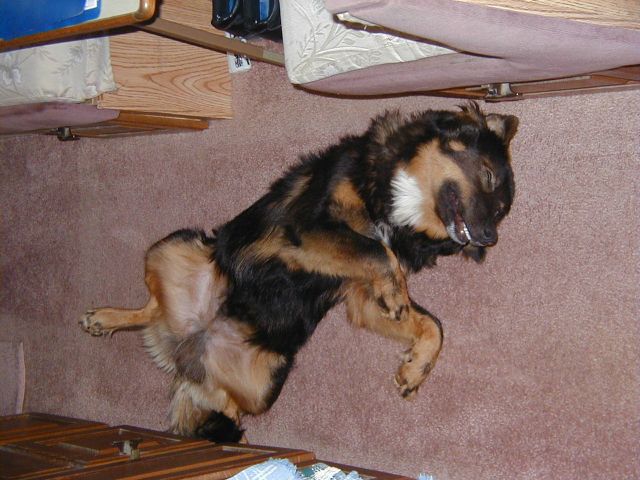
Long about mid-summer, a new buddy came into my life... One day at work, a really cute young dog showed up as a stray. He was such a nice puppy that I couldn't let him go to the pound. So, meet Buddy, my new addition to the small, but growing menagerie!
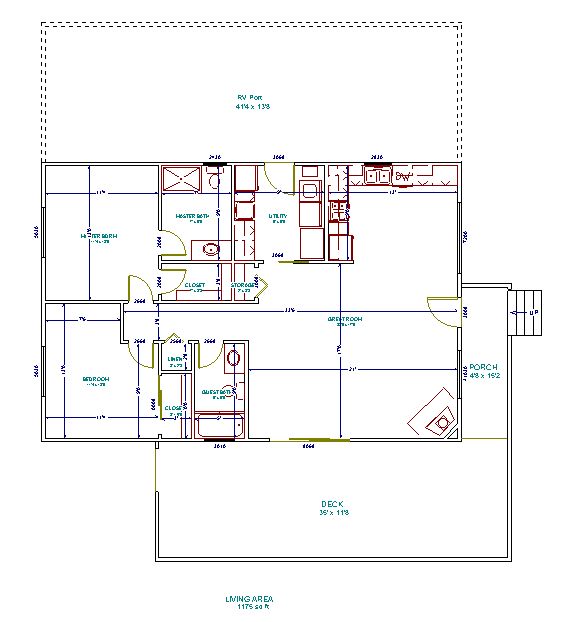
Around the middle of July, it was time to get serious about creating some house plans! I wanted to have plans finished and a contractor onboard by September or October. That way, I could get the shell built in October and then get all the outside finish work done and the basic electric and plumbing before it got hot again. I wanted to have at least a mostly-air-conditionable structure finished before next summer. To generate the plans, I found a really neat program called 3D Home Architect. It was a huge asset during the design phase, as it not only allowed me to render the drawings in 3D as I developed them, it also allowed me to place properly scaled fixtures and appliances into the drawings. After much revising, I settled on the plan and structure shown below. Some of the unique features include a built-in brewery and a full wall built-in book and media case.

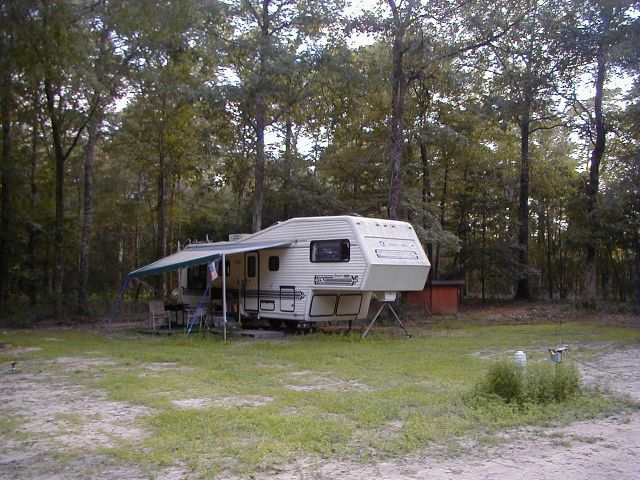
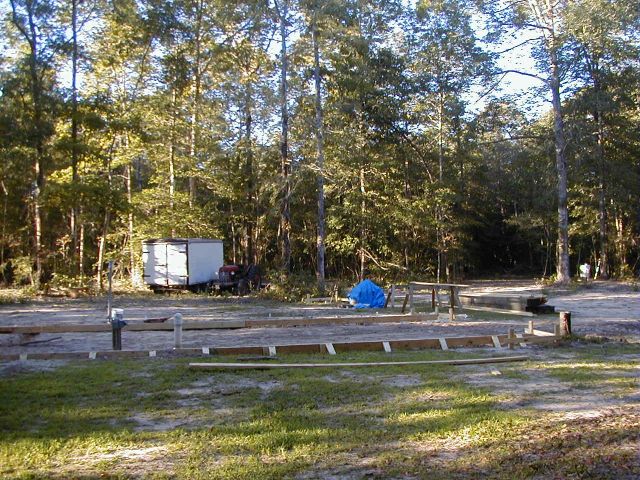
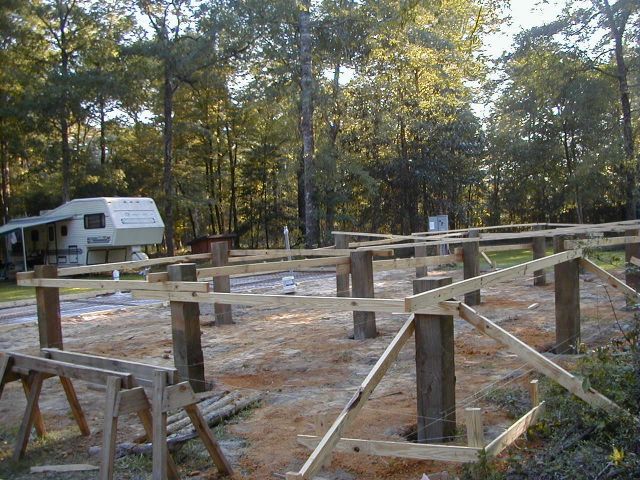
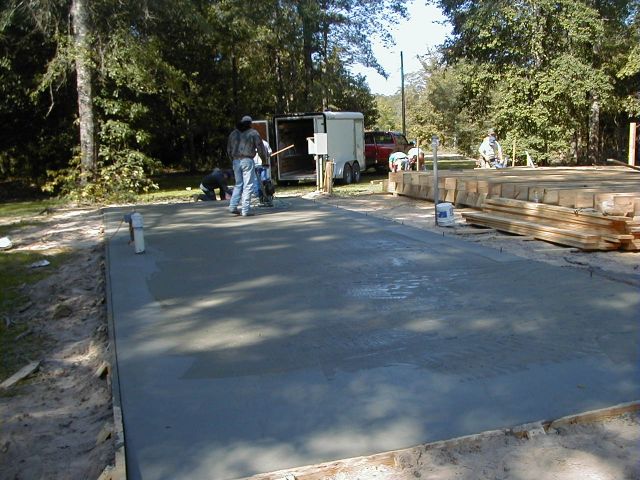
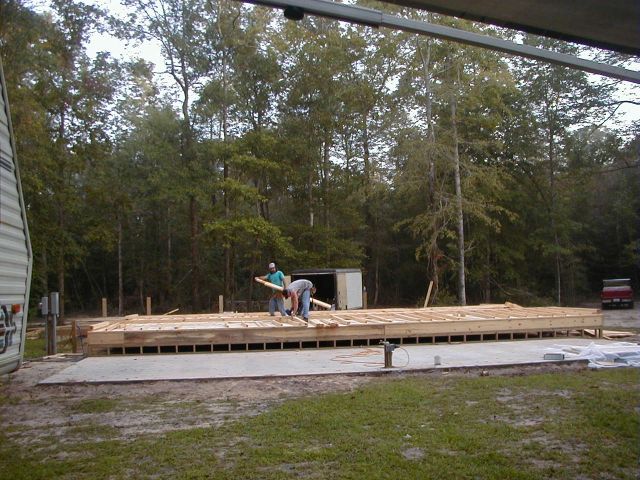
Plans done, I asked around and found the most highly recommended contractor in the local area. I didn't shop by price: I wanted a quality job. J&J construction was signed on to do the project, and they started in late September. The next pix all show the shell home rising... The house is built off the ground on pilings. I did it that way to allow me to get underneath to do the plumbing work and also due to the very wet climate we live in. You can also see the prep for the 14X42 foot RV parking slab.
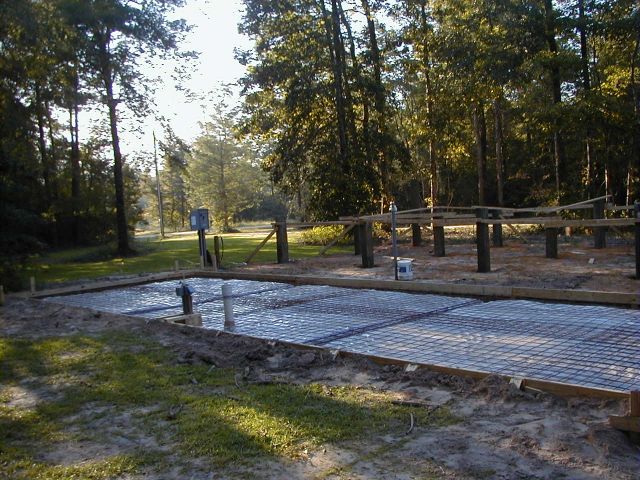
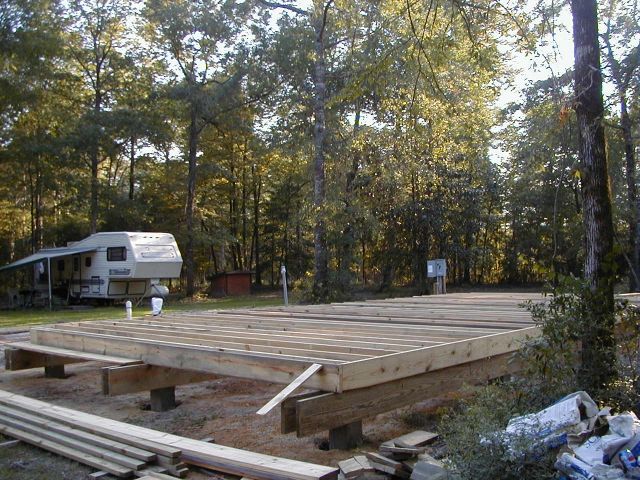
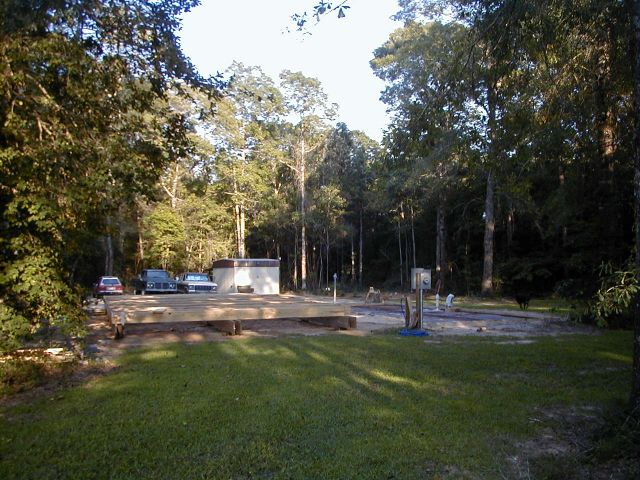
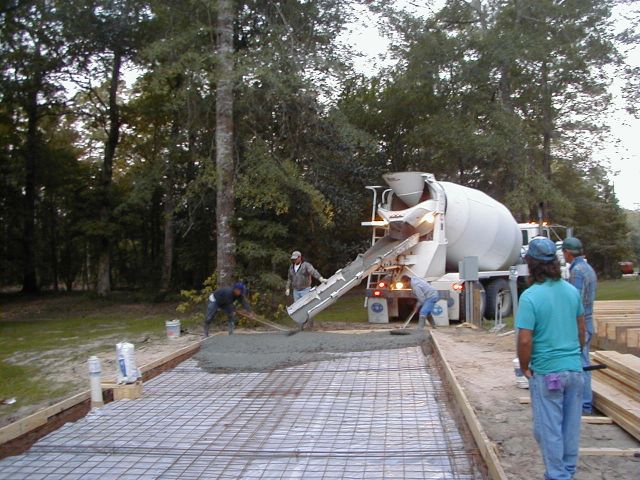
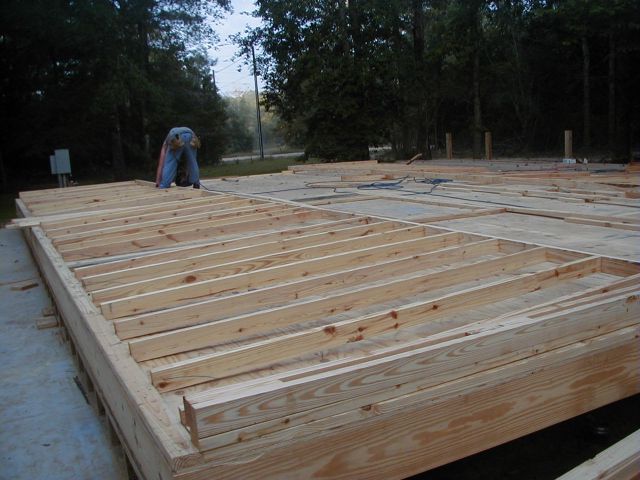
The floor joists are going in and the cement guys are pouring and finishing the slab.
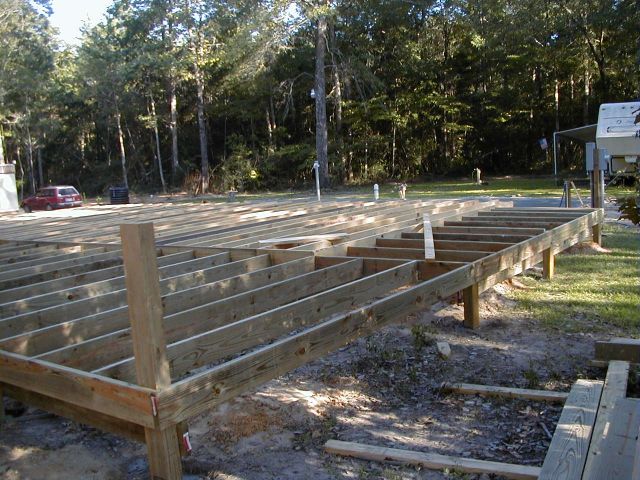
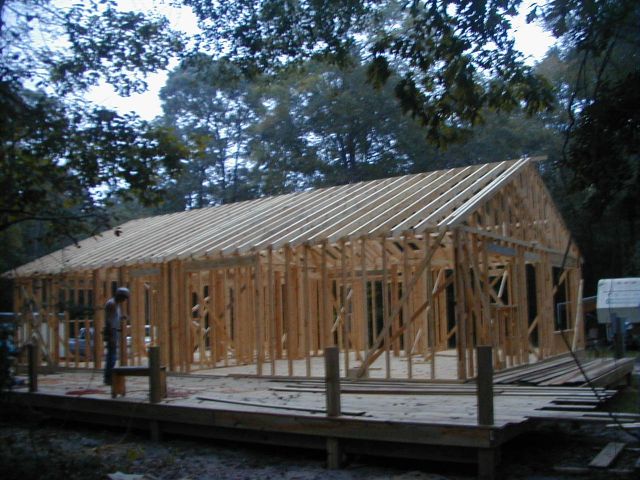
Once all the joists are in, the floor goes down and the stud walls go up.
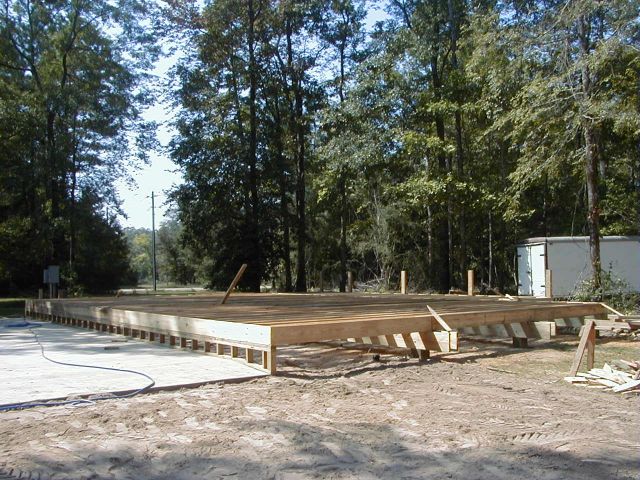
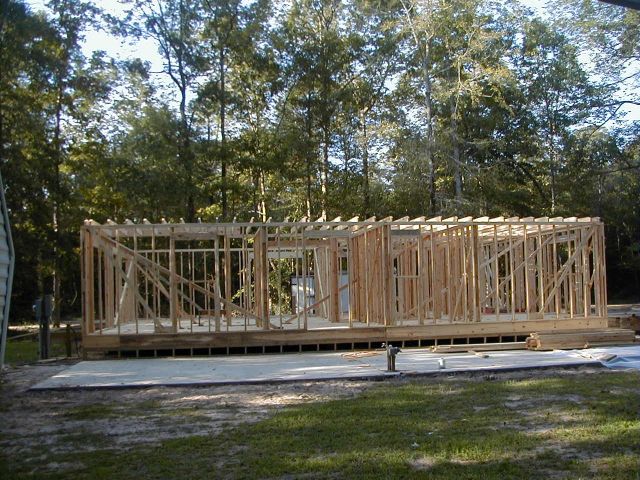
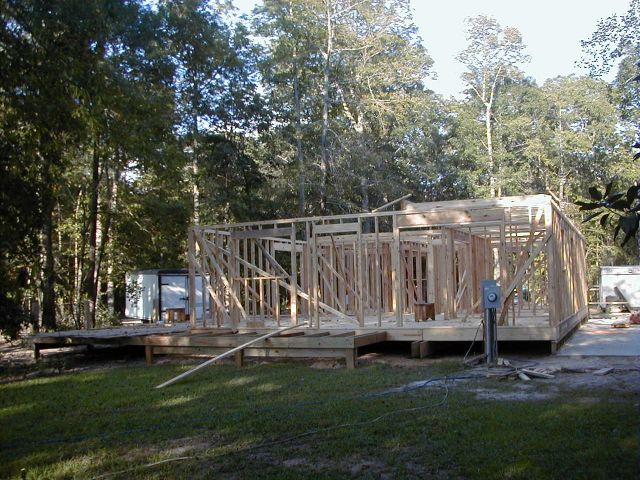
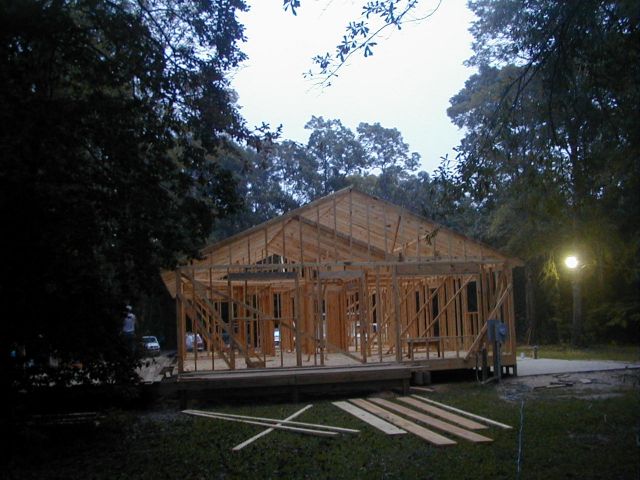
It doesn't take long for the house to take shape! The porch and deck are also being built at this point.
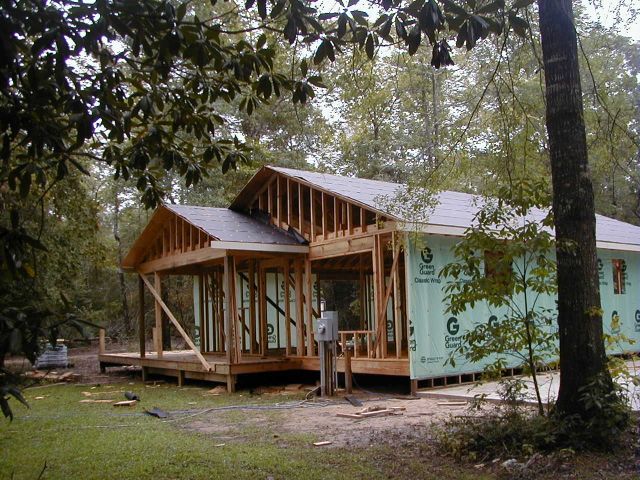
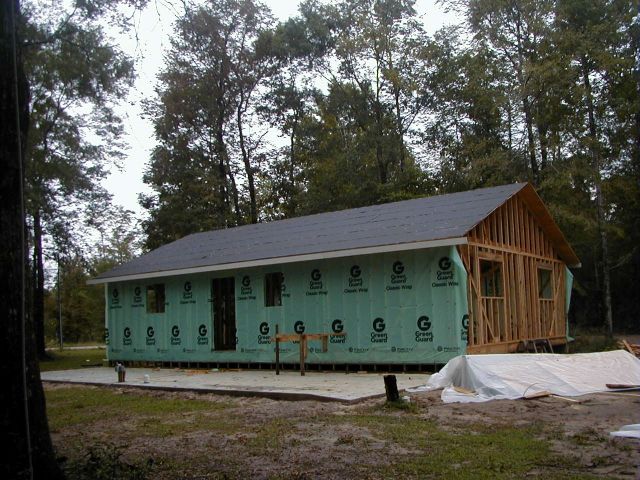
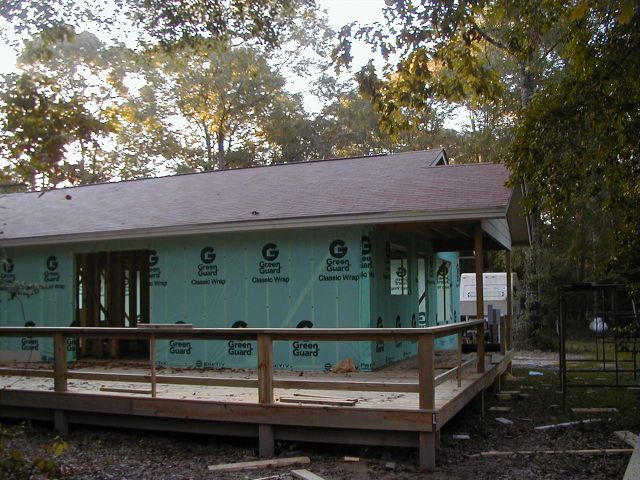
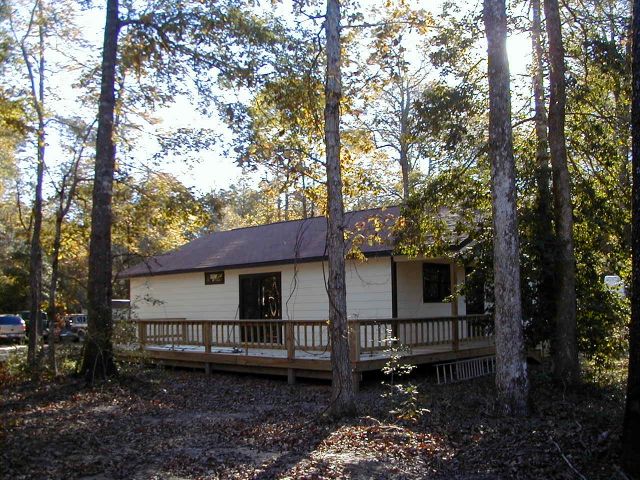
One last look before the exterior siding goes up, then in an amazingly short time, there's a house there! Wow!
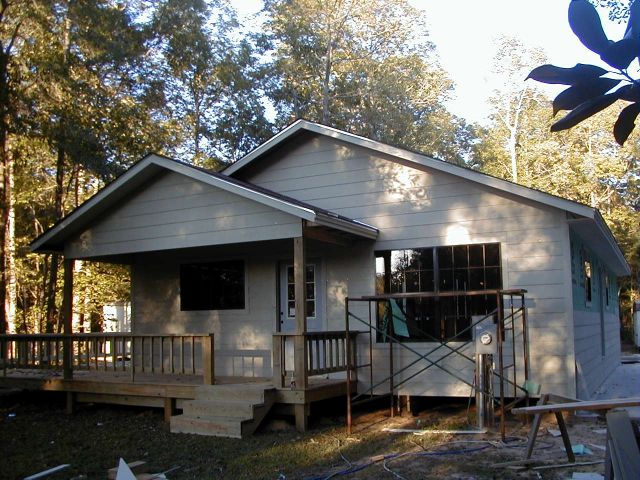
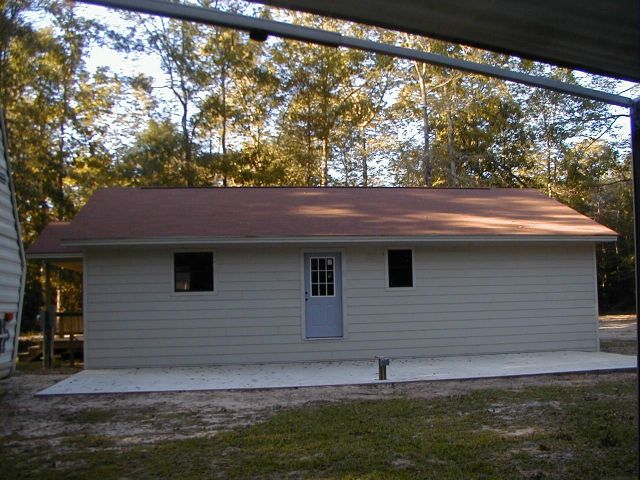

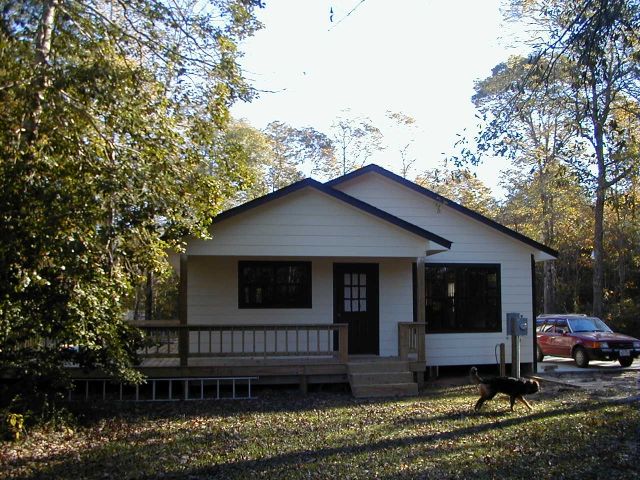
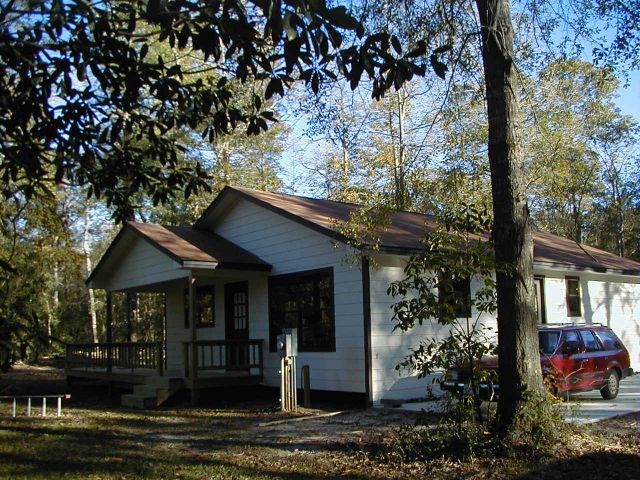
Up until now, I'd sort of been standing and watching, but now my labor was just beginning! I needed the exterior finished out first. That meant caulking all the siding, painting the whole house and all trim, adding gutters and drain systems for them, and sealing and caulking windows and doors. Oh, and doorknobs and locks too. The exterior work had to be done in between rainy weather, but it was pretty well complete by Thanksgiving. From the outside, it looks like a done deal!
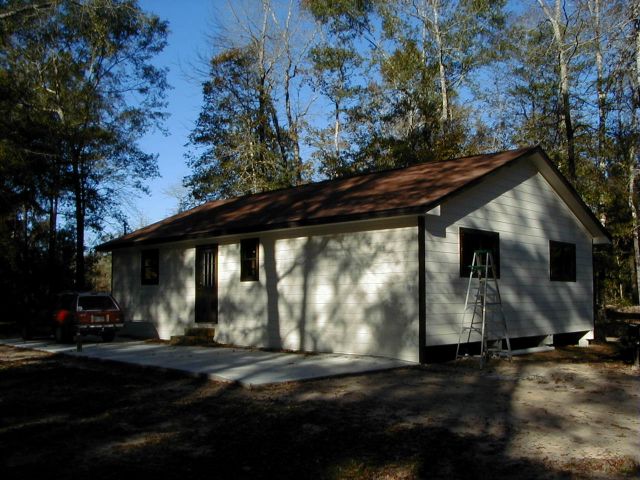
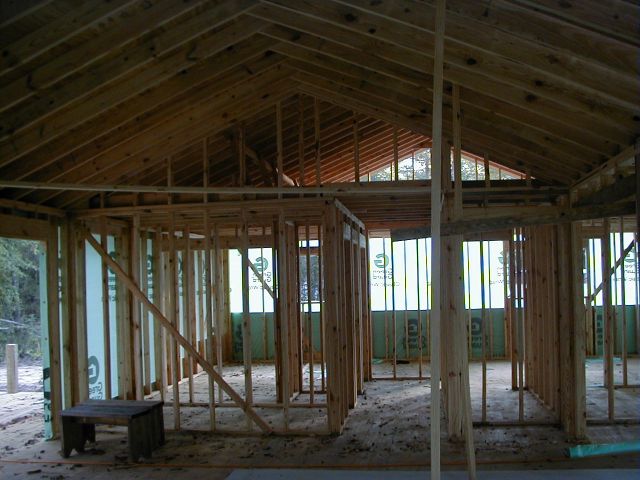
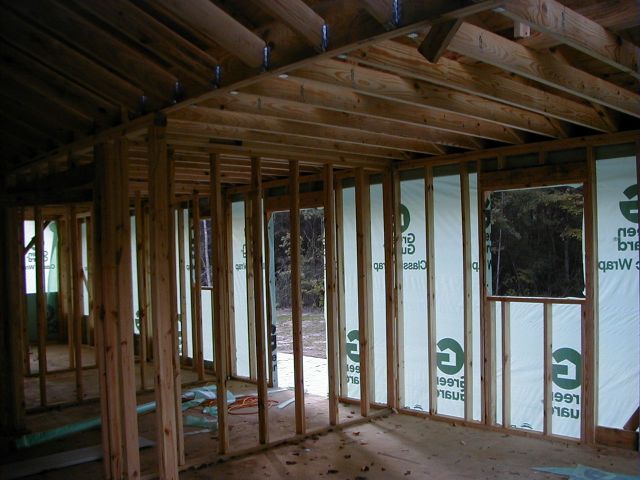
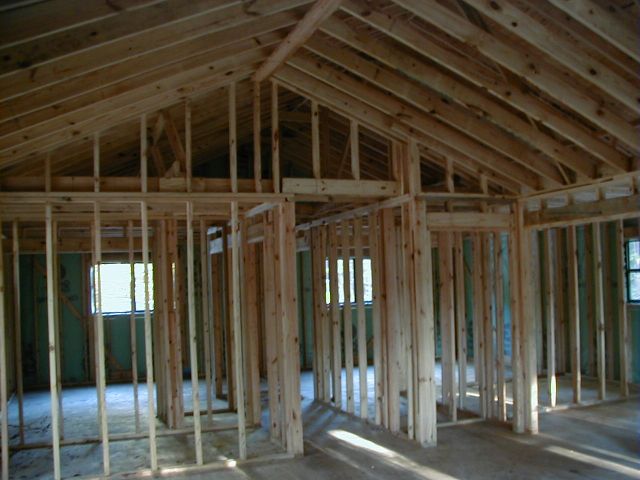
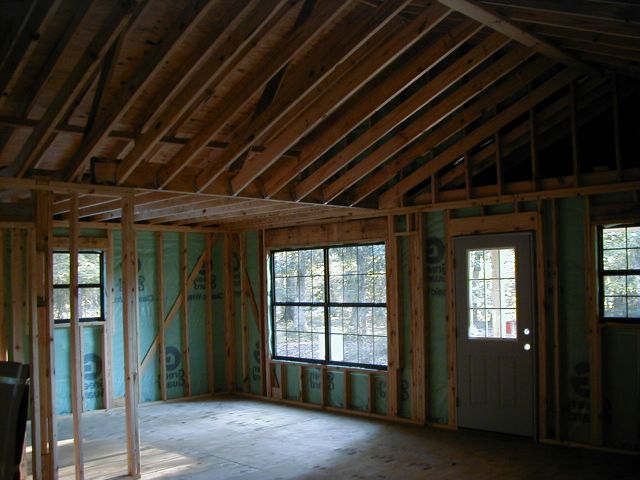
From the inside, however, it's a whole 'nuther story! Nothing but stud walls and wide open spaces. Looks like I've really got a project on my hands, now!
There's lots more! Click on the link below to continue on to page 2!
 |
 |
 |
![]()