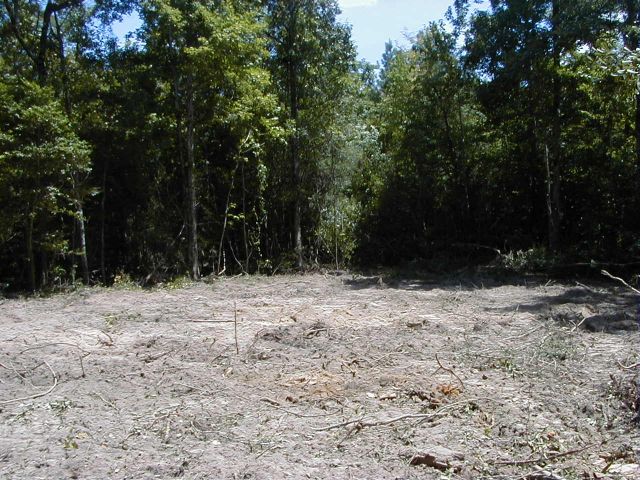
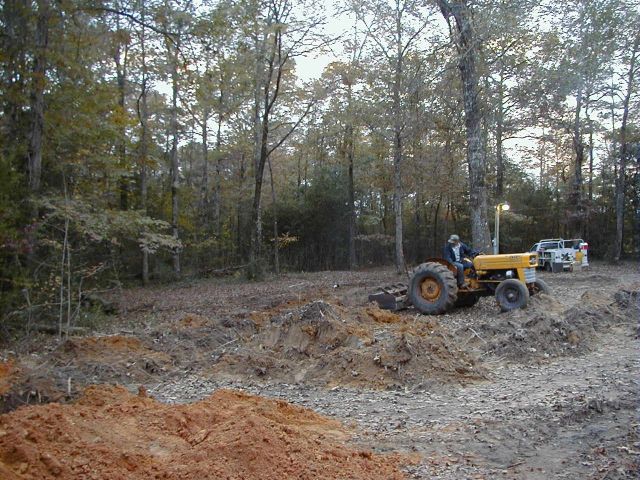
When the initial rough land clearing was done, I had what could only be described as "blasted earth". It looked like several small bombs had gone off out there! Plus, I had a burn pile that was bigger than my RV! These shots will give you some idea.
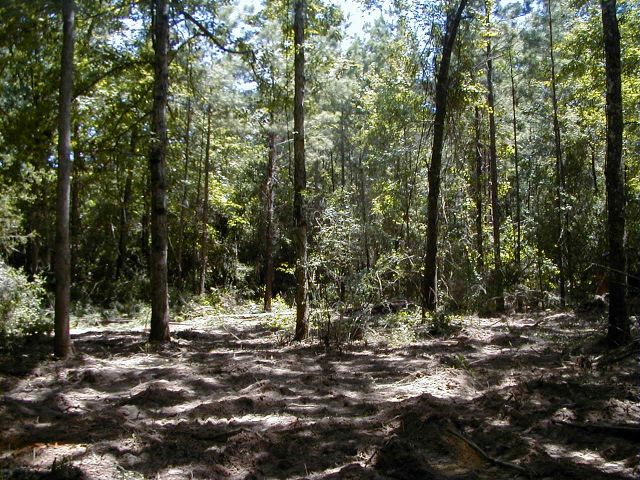
Now, it's tractor time! I spent the next several weekends with the tractor, slowly getting things smoothed out and cleaned up. The roots were the worst!! No matter how many you chop out and pull up, there are still more down there! I added to the already huge burn pile and kept at it...
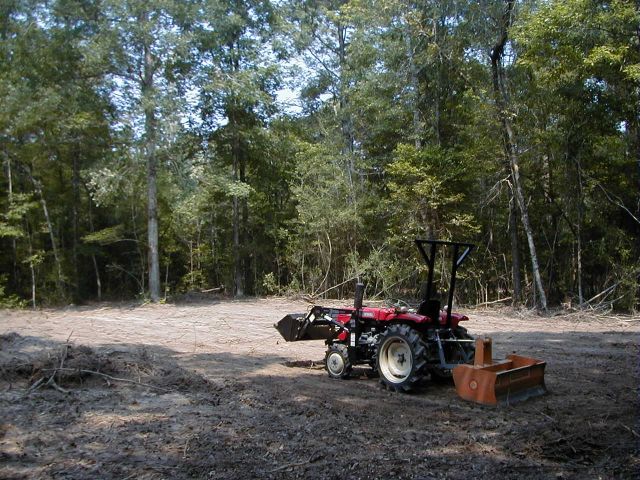
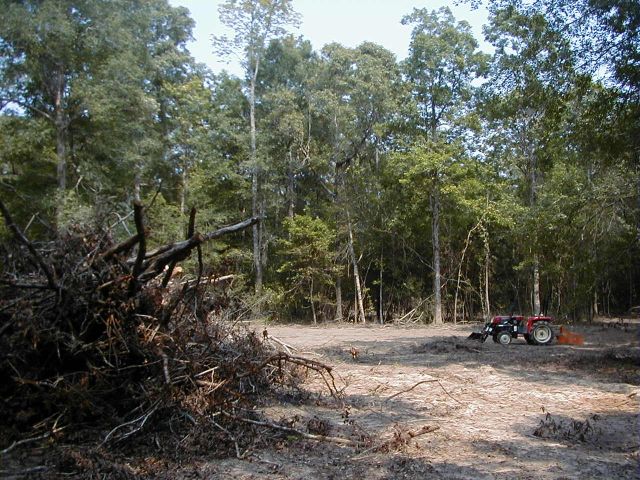
Finally, I started to see some real progress! It's actually getting smoother and even slightly more level! The little tractor has been performing very well, but it's traction-limited, so sometimes the going is slow. Still, it sure beats trying to do it by hand! Most of the work has been done with the box blade, followed by the landscape rake.

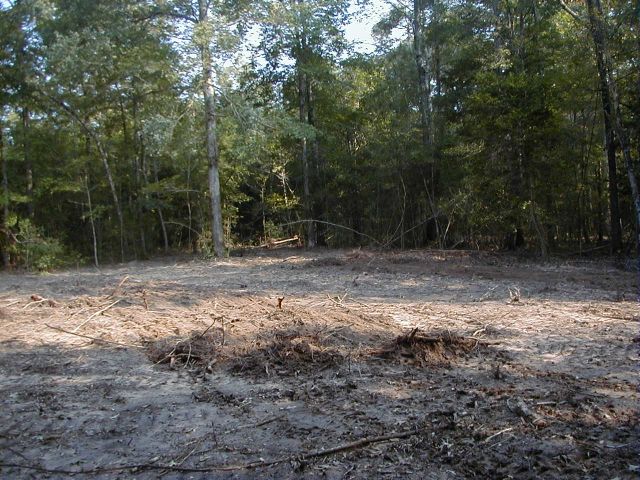
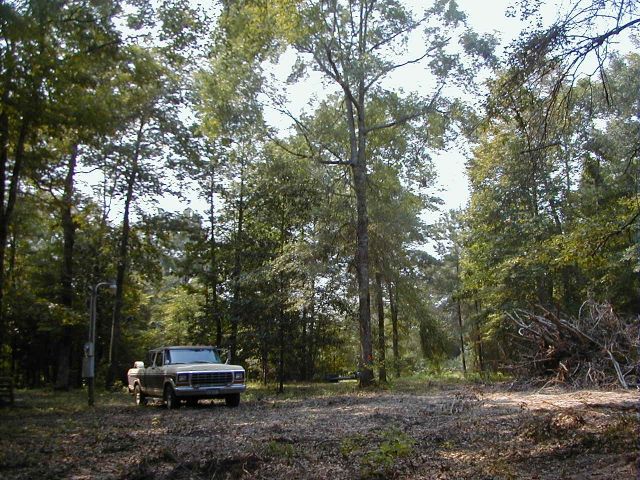
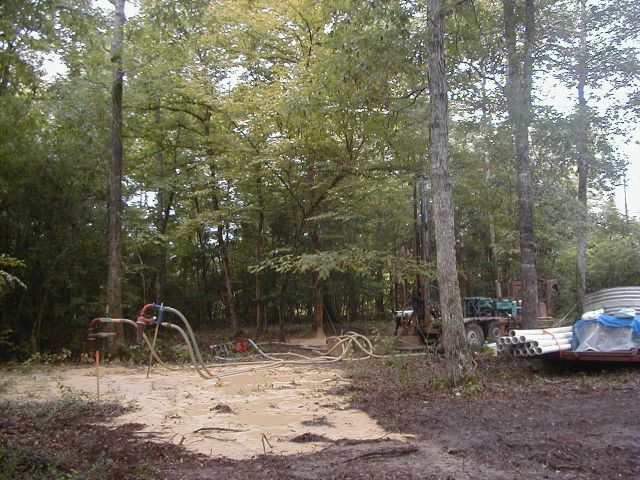
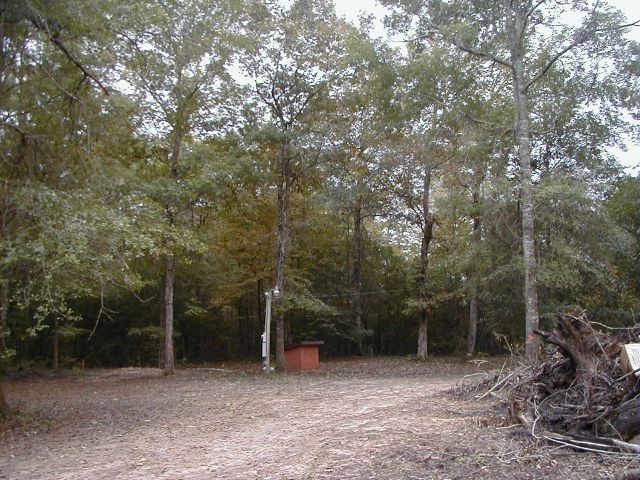
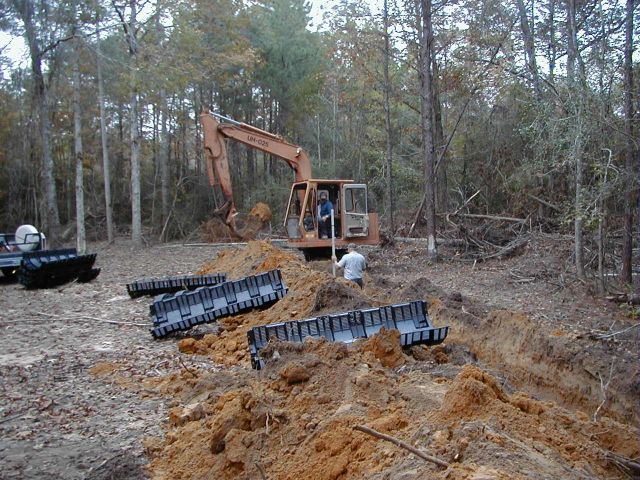
By the first part of October, 2002, I had a big chunk of relatively flat dirt, lots of trees, a huge burn pile, and darn little else. The next thing that needs to be done is to get a well drilled! I contacted with a local well driller, and he moved his equipment out onto the property and a well site was selected. I came out and took some pictures of them getting started.
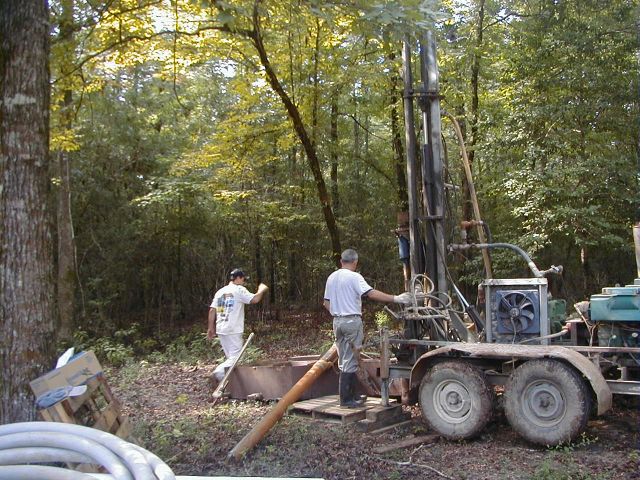
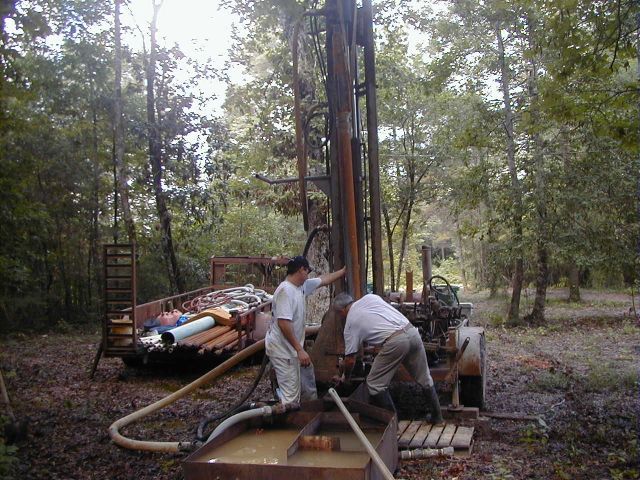
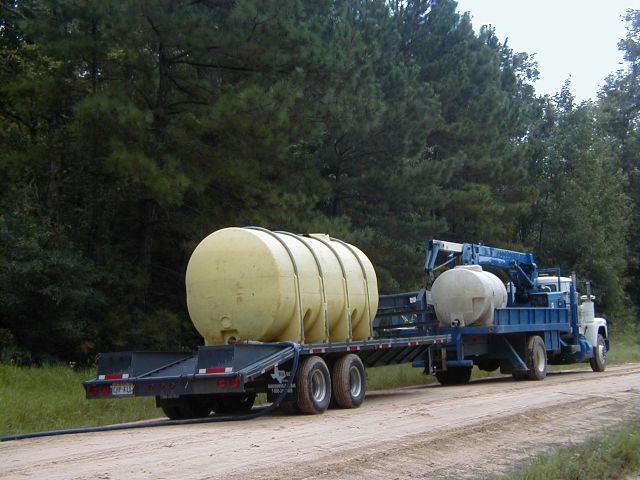
Since there's no water on the property, they brought a large tank along to supply water for the drill. Pumps recirculate the water through the drill, and sand separators extract the sand and clay, keeping the fluid from thickening too much. It's really a fascinating process. They went down about 200 feet... it was solid clay all the way until they hit the aquifer, which is sand and gravel.
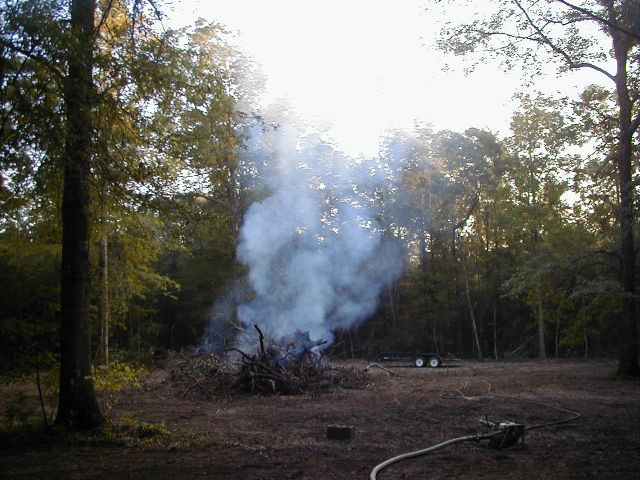
The weather did not cooperate... heavy rain and thunderstorms delayed the drilling process. However, the rain made it possible for me to light off the huge burn pile safely. One very early morning, while the surrounding woods were still wet, I poured some diesel fuel on the pile and lit it off. It burned like crazy, shooting flames at least 30 feet into the air, and a tower of sparks floated up out of sight. I had laid out hose and a pump, borrowed from the well drillers, in case I needed to control the blaze, but it went very well, and a large portion of the pile was turned to ashes. Now, I will need to push the unburned remains together and burn it again.

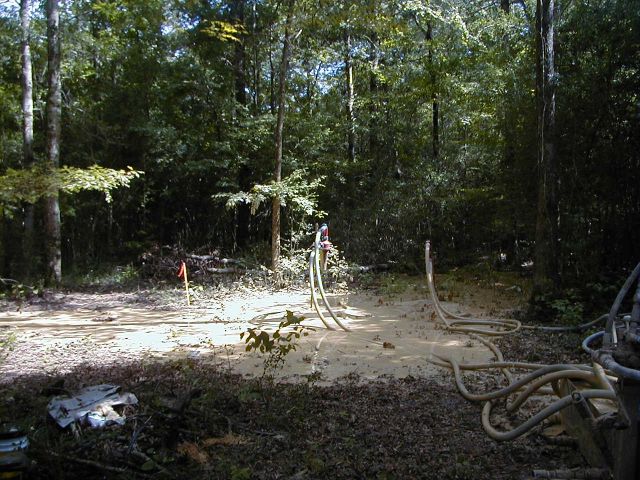
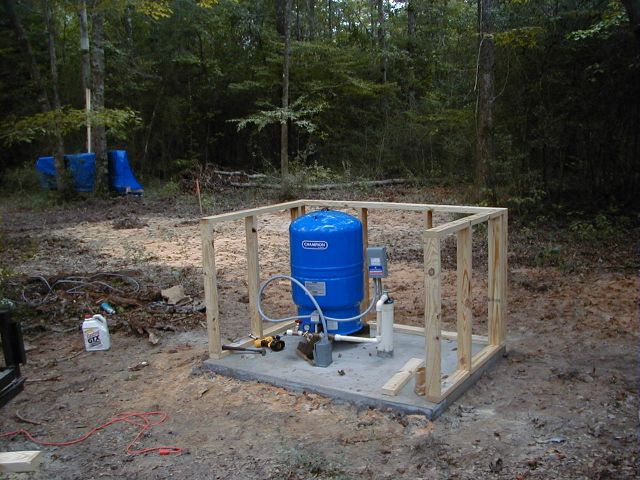
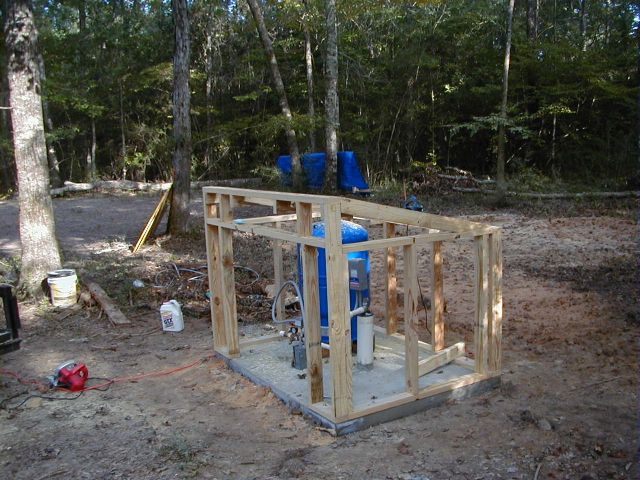
Once the drilling was complete, the 4" casing was placed into the well and the well was sealed, capped and developed. Part of the process included a flow test and a recovery test. The well flowed readily at 30 gallons per minute! Wow! Plus, the water was clear and free of any iron taste or sulfur smell. Once all that was done, the pump was put in place and the pressure tank and fittings were completed.
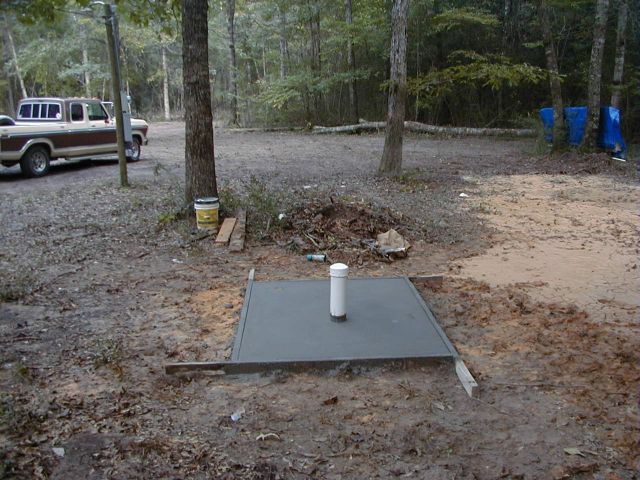
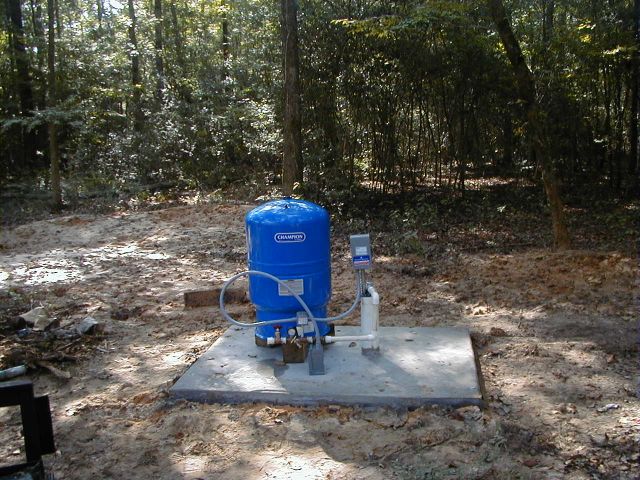
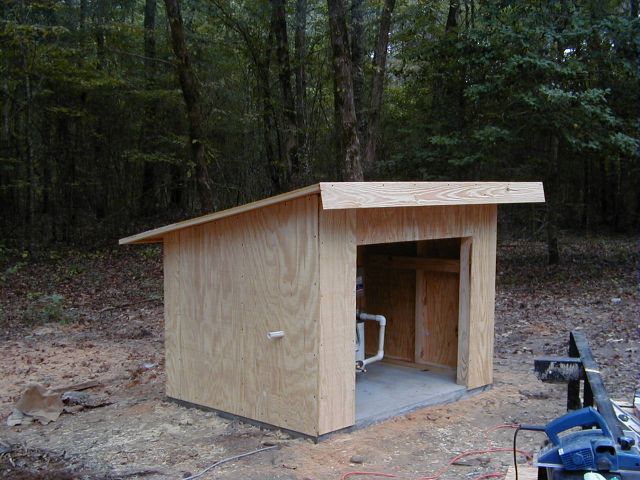
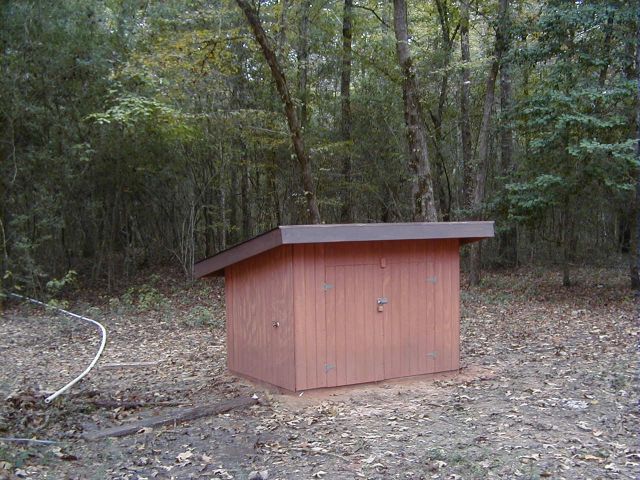
Taking advantage of a break in the rainy weather, I spent a couple of days building the well house. I managed to get it completed and stained before the rains started again.
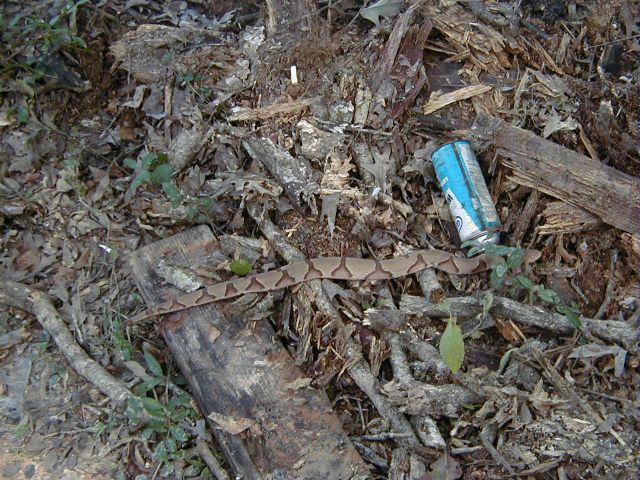
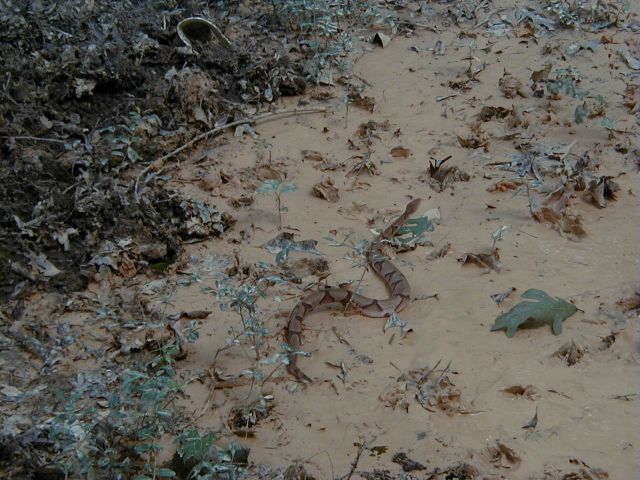
While I was working on the well house, I spotted a large snake cruising by just a few feet away... This is a really healthy example of an East Texas Copperhead.. Not a snake you'd want to step on! There are a lot of snakes around here, so you really have to pay attention when you go walking around, especially after dark!
In this part of Texas, you can usually count on the rain to start in
October. Sure enough, we got stuck in a wet pattern and it rained almost
every day for a couple of weeks. Not just a drizzle either: we got about
16 inches in 10 days. It turned the property into a sea of mud and became
quite a schedule killer! I was hoping to have the septic in right after
the well, and then was planning to move out onto the property. (I was still
living at Rainbow's End at the time) So much for best laid plans, and all
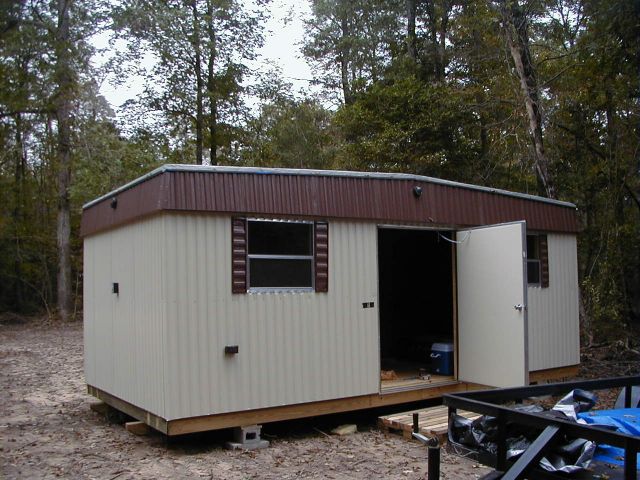
that! I did manage to get my portable building delivered in a short dry
spell in between weeks of wet... if they hadn't had a 4 wheel drive truck,
they'd never have gotten it in there! It was a 10 X 20 foot steel building,
and I planned to use it as a storage shed and workshop. Once it was delivered
and set up, I worked at wiring it, insulating and finishing the inside,
and painting. Luckily, I could do most of this in the rain, but getting
on and off the property was iffy at best: I managed to get the truck
stuck pretty well a couple of times!
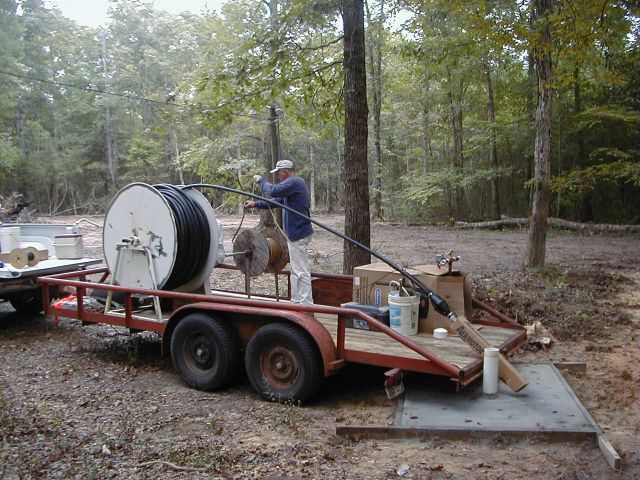
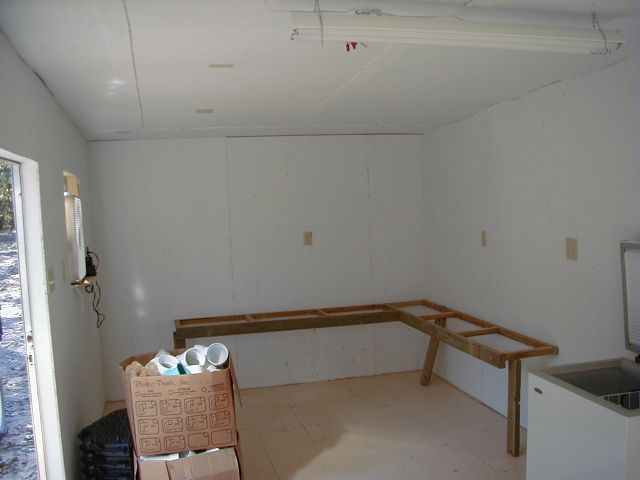
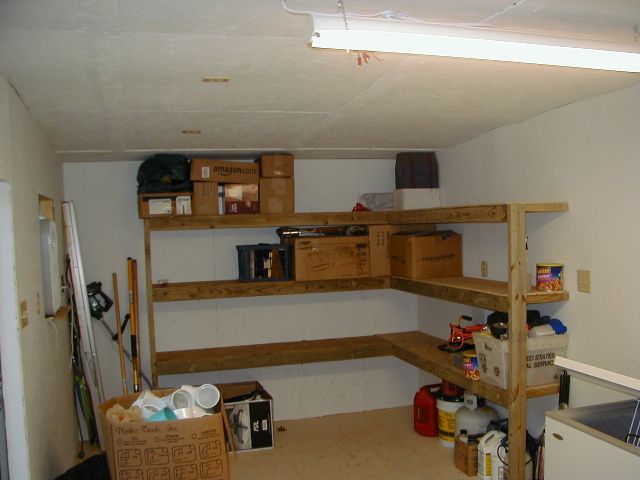
Here are a few shots...
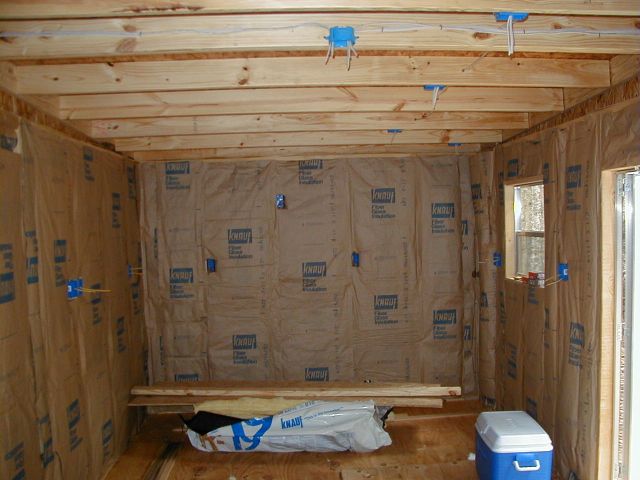
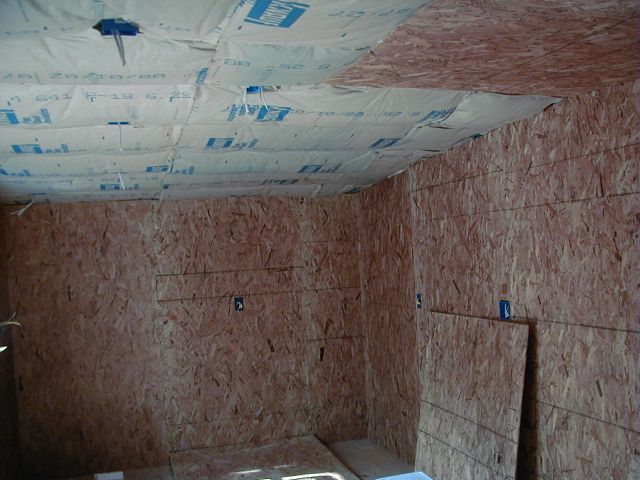
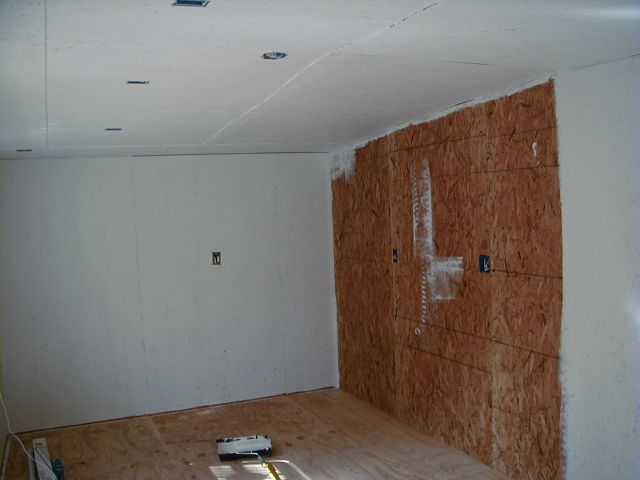
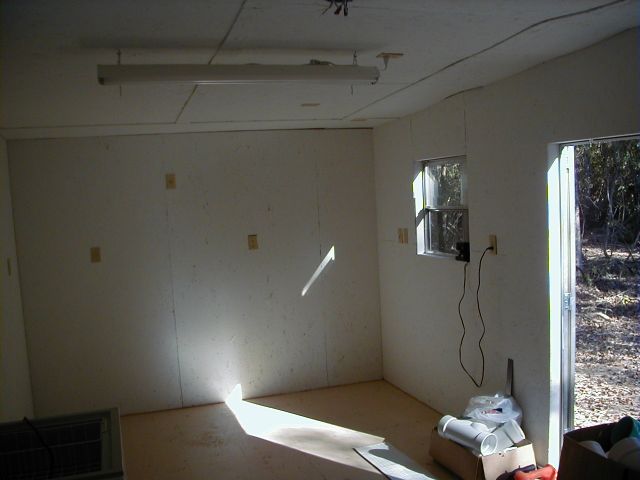
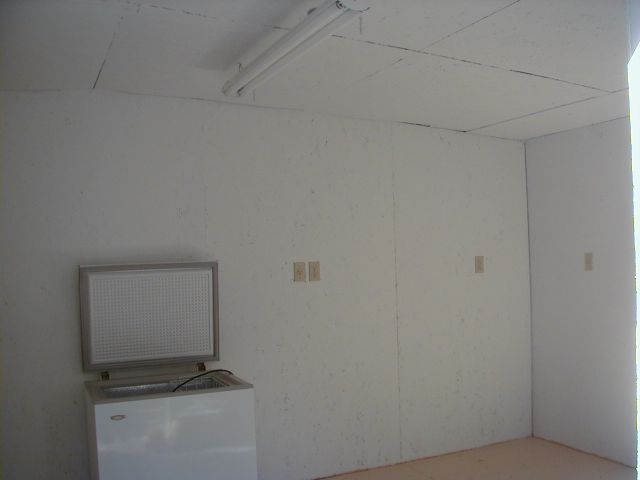
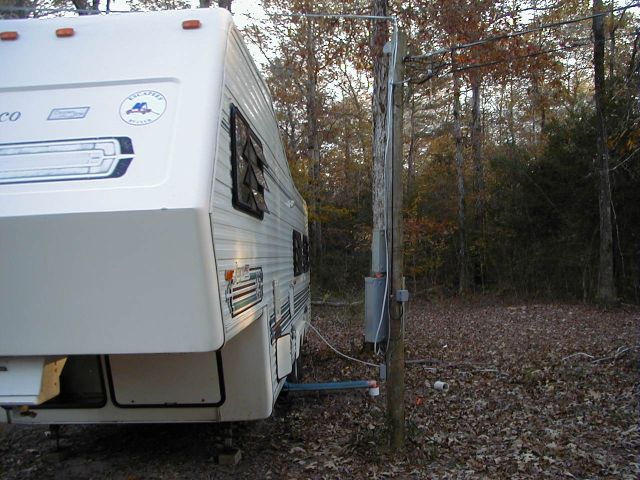
Once I had the inside finished, I built some hefty shelves to allow me to store all my junk when it got out here from California. I also moved a small freezer in and strung a temporary power feed overhead from the power pole, some 130 feet away. Wow! I've got power and lights!!!
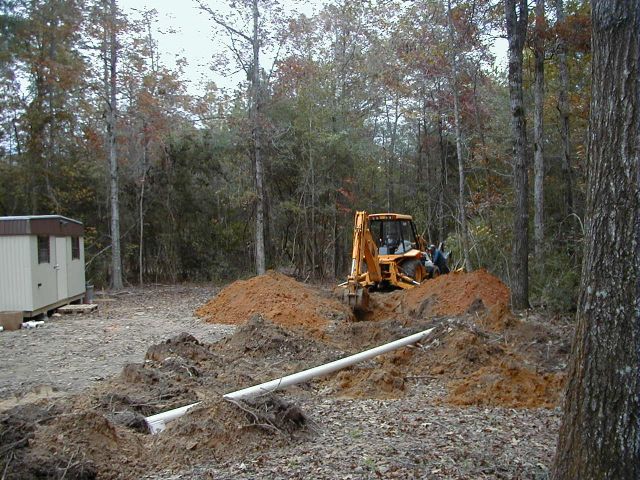
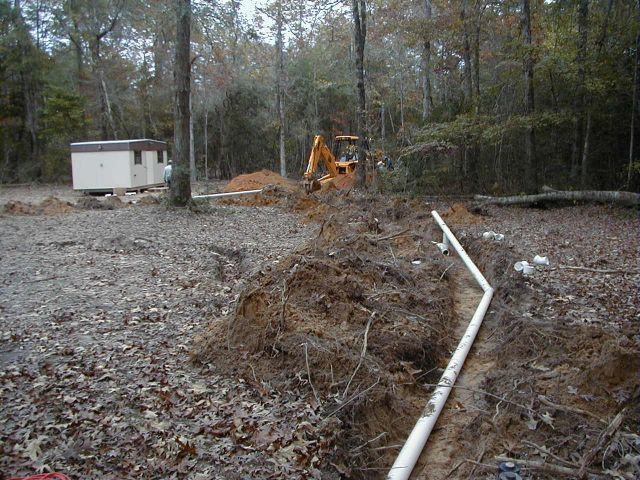
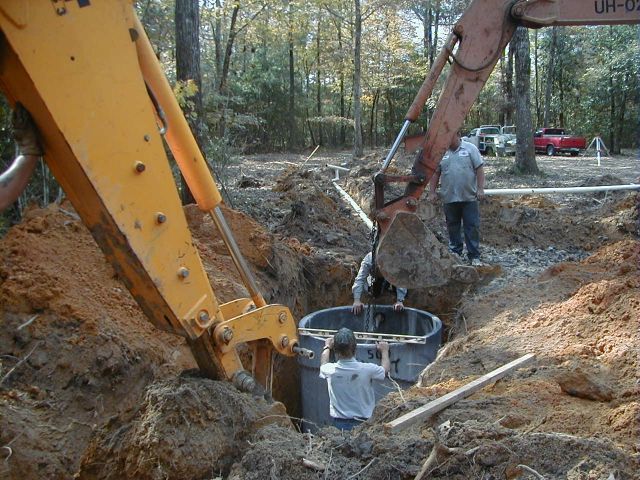
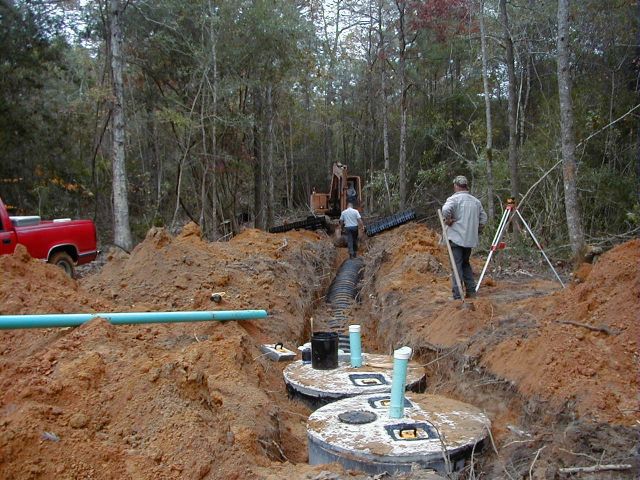
Finally, the week before Thanksgiving, the septic installers were able to get out on the property. The ground hadn't really dried out, but at least it was possible for them to dig. And, dig they did! I had pipe run for two buddy pads, an RV port attached to the house and, of course, the future house itself. Two 500 gallon cement tanks and about 240 feet of chambered leach line were installed and covered over. Barely had they gotten the ditched closed before it started to rain again!
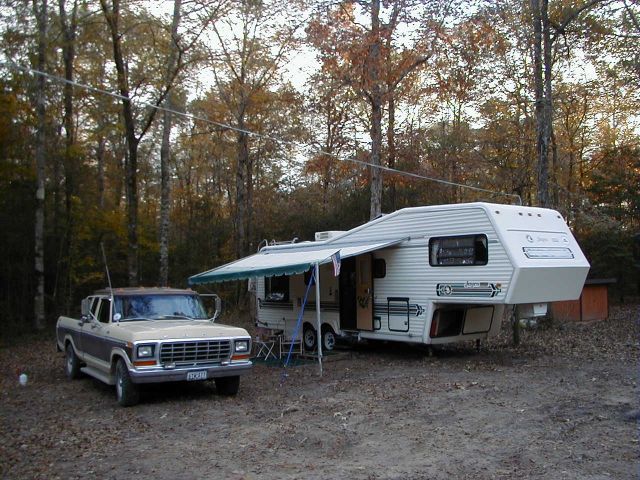
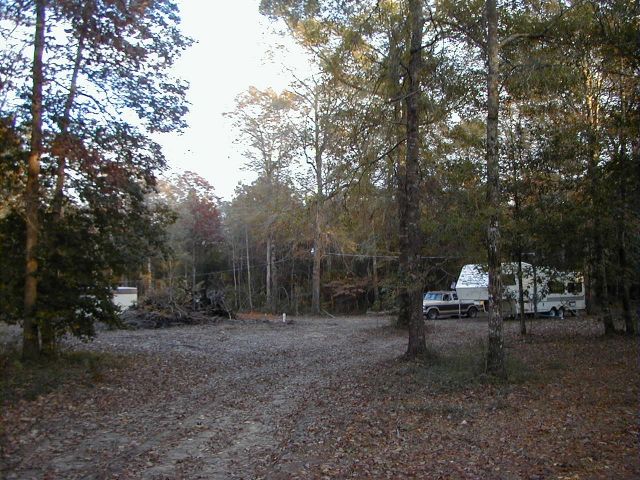
Finally, after a short dry spell, I was able to move the rig out onto my land and actually live there for a few days. I would only be able to stay for a short while, though, as it was now time for my scheduled trip out West to recover all of my stored property! As you can see from the pix, the leaves are falling!
There's lots more! Click on the link below to continue on to page 2!
 |
 |
 |
![]()